


About This File
This program automates some of the tedious manual process of building a plugin into your Hercules server on a Windows Machine.
It follows the instructions on the Hercules Wiki. From the guide linked, this does steps 1 to 10 of the Old Method (for Windows).
The requirements are still the same (IDE, etc.). This simply manages the repetitive things that need to be done manually.
It also performs error checking so that it's newbie friendly.
What does it do?
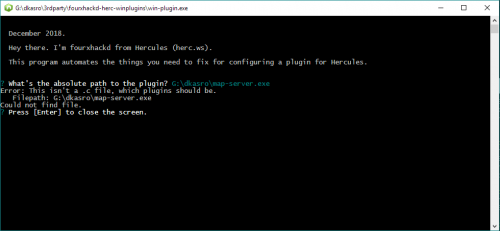
1. Locates `YourProject.c`.
2. Locates your Hercules folder.
3. Copies your `YourProject.c` file into your `hercules/src/plugins/` folder.
4. Select which visual studio project to use.
5. Copies the `plugin-sample.vcxproj` template into your own `YourProject.vcxproj`.
6. Opens the `YourProject.vcxproj` and replace all instances of:
<ProjectName>plugin-sample</projectname>
into
<ProjectName>YourProject</projectname>
7. Replaces:
<TargetName Condition="'$(Configuration)|$(Platform)'=='Debug|Win32'">sample</targetname>
into
<TargetName Condition="'$(Configuration)|$(Platform)'=='Debug|Win32'">YourProject</targetname>
8. Replace:
<ClCompile Include="..\src\plugins\sample.c" />
into
<ClCompile Include="..\src\plugins\YourProject.c" />
9. Finally, instructs you to do the remaining things, as specified in the Hercules Wikipedia.
What's New in Version 1.1 See changelog
Released
Fixed a bug because the tags for <ProjectName><projectname> did not match correctly. Tested it on building mapcache plugin.
Recommended Comments
There are no comments to display.
Please sign in to comment
You will be able to leave a comment after signing in
Sign In Now